Introduction: Understanding the Basics of Vinyl Flooring and Why it's a Popular Choice
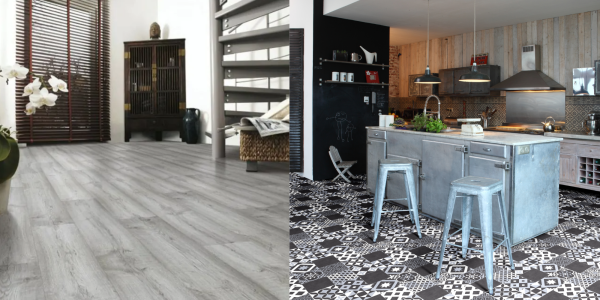
Vinyl flooring has become a popular choice for many homeowners and designers due to its versatility, durability, and cost-effectiveness. From classic white and black designs to trendy wood effect and patterned styles, vinyl flooring offers a wide range of options to suit any interior space. When it comes to bathroom and kitchen flooring, vinyl emerges as a top contender due to its water-resistant properties and easy maintenance. Whether you prefer the sleek look of tile vinyl flooring or the timeless appeal of wood vinyl designs, there is a vinyl flooring option for every taste and budget. Not only is vinyl flooring affordable compared to other types of flooring materials, but it also provides excellent insulation properties that can help keep your home warm in winter months. Additionally, with advancements in technology, modern vinyl floors can mimic the look of natural materials such as wood or stone while offering the practical benefits of easy installation and cleaning. Whether you are looking for cheap yet stylish options or high-end wood effect finishes, understanding the basics of vinyl flooring will help you make an informed decision when it comes to revamping your living space.Step-by-Step Guide on Installing Vinyl Flooring in Your Home
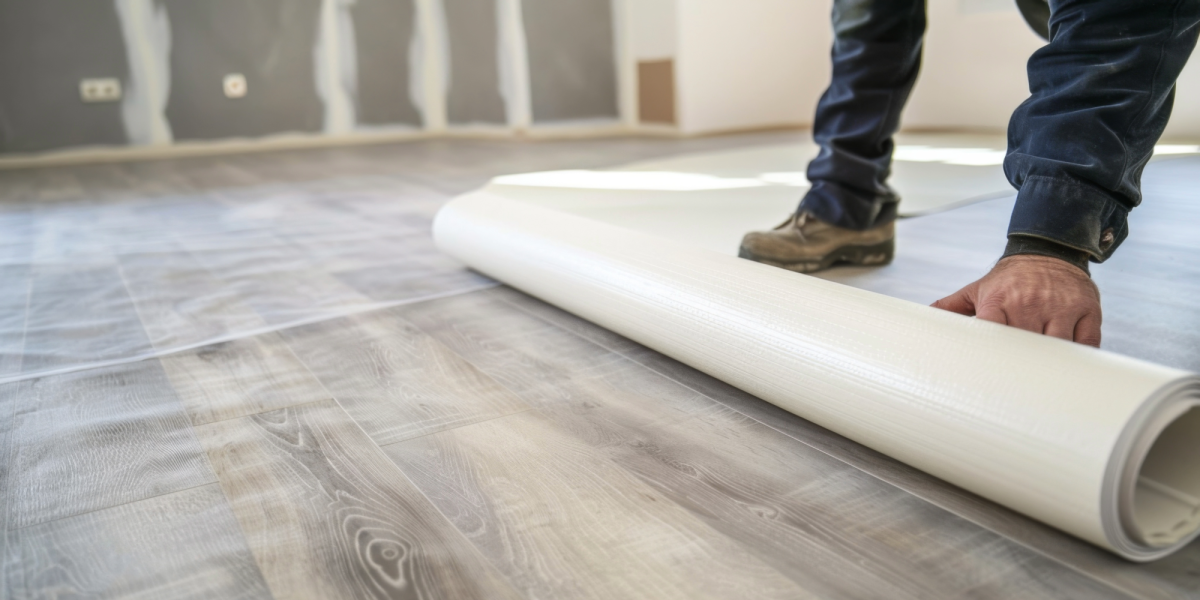
When it comes to giving your home a fresh and stylish look, installing vinyl flooring can be a great choice. Vinyl flooring is not only durable and easy to maintain but also offers a wide range of styles and colours to suit your taste and décor preferences. Here is a step-by-step guide on how you can install vinyl flooring in your home:- **Prepare the Subfloor**: Ensure that the subfloor is clean, smooth, and free from any debris. Repair any imperfections or uneven areas before proceeding with the installation.
- **Measure and Cut the Vinyl Flooring**: Measure the dimensions of the room accurately and cut the vinyl flooring accordingly, leaving extra material for trimming at the edges.
- **Acclimatise the Vinyl Flooring**: Allow the vinyl flooring to acclimatise in the room for at least 24 hours before installation to prevent any warping or buckling later on.
- **Lay Out the Vinyl Flooring**: Start laying out the vinyl from one corner of the room, ensuring a tight fit.
- **Trim Excess Material**: Use a utility knife or floor cutter to trim excess material along walls and corners for a neat finish.
Essential Tools and Materials You'll Need for a Successful Vinyl Flooring Installation
When it comes to installing vinyl flooring, having the right tools and materials is crucial for a successful outcome. Here are some essential items you'll need to ensure a smooth and efficient installation process:- **Vinyl Flooring**: First and foremost, you'll need the vinyl flooring itself. Whether you choose white, black, beige, wood effect, or patterned vinyl flooring, make sure to measure your space accurately to determine the amount needed.
- **Adhesive**: Depending on the type of vinyl flooring you choose - whether it's self-adhesive or requires glue - make sure to have the appropriate adhesive on hand for installation.
- **Utility Knife**: A sharp utility knife will be essential for cutting the vinyl flooring to fit around corners and edges accurately.
- **Tape Measure**: Accurate measurements are key to a precise installation. A tape measure will help ensure that your vinyl flooring fits perfectly in your space.
- **Straight Edge or T-Square**: These tools will help you cut straight lines when trimming the vinyl flooring for a professional finish.
- **Roller**: A roller is necessary for pressing down and smoothing out the vinyl flooring once it's laid down to remove any air bubbles or wrinkles.
- **Knee Pads**: Installing vinyl flooring involves a lot of kneeling and bending, so protect your knees with comfortable knee pads.
- **Cleaning Supplies**: Before installation, ensure that your sub-floor is clean and free of debris with suitable cleaning supplies like brooms and vacuum cleaners.
Tips and Tricks for a Flawless Finish: Common Mistakes to Avoid When Laying Vinyl Floors
When it comes to laying vinyl floors, avoiding common mistakes can make a significant difference in achieving a flawless finish. Here are some tips and tricks to help you navigate the process smoothly:- **Proper Sub-floor Preparation**: One of the most common mistakes when laying vinyl flooring is neglecting sub-floor preparation. Ensure that the sub-floor is clean, dry, and level before installation to prevent any imperfections from showing through the vinyl.
- **Accurate Measurements**: Measure your space accurately before purchasing vinyl flooring to avoid running out of material or having excess waste. It's recommended to add a little extra for cuts and adjustments. You can book a free home measure and estimate here to guarantee the perfect fit.
- **Choosing the Right Vinyl Flooring**: With various options like white vinyl flooring, herringbone vinyl flooring, beige vinyl flooring, wood effect vinyl flooring, and patterned vinyl flooring available, it's essential to select a style that complements your space while considering factors like durability and maintenance.
- **Proper Acclimation**: Allow the vinyl flooring to acclimatise to the room temperature for at least 24-48 hours before installation. This helps prevent issues like buckling or warping post-installation.
- **Careful Cutting and Installation**: Use proper tools for cutting the vinyl accurately around corners and edges. Ensure a snug fit without gaps or overlaps during installation for a professional finish.
- **Regular Maintenance**: Once your vinyl floor is installed, maintain its beauty by following manufacturer-recommended cleaning instructions and avoiding harsh chemicals that could damage the surface.
Maintaining Your Vinyl Flooring: Cleaning and Care Tips to Keep Your Floors Looking Great
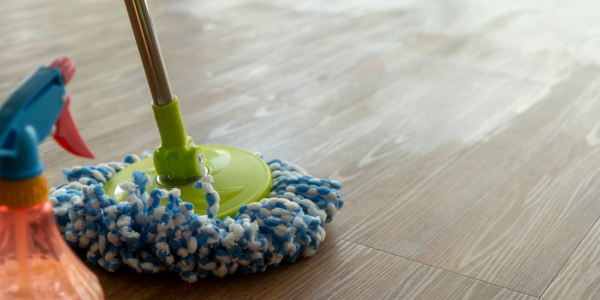
Maintaining Your Vinyl Flooring: Cleaning and Care Tips to Keep Your Floors Looking Great Vinyl flooring is a popular choice for many homeowners due to its durability, affordability, and versatility in design options. Whether you have stone vinyl flooring, marble vinyl flooring, grey vinyl flooring, or even wood effect or patterned vinyl flooring in your kitchen or bathroom, proper maintenance is key to keeping your floors looking great for years to come. Here are some cleaning and care tips to help you maintain your vinyl flooring:- Regular Cleaning: To keep your vinyl floors looking their best, it's important to sweep or vacuum regularly to remove dust, dirt, and debris. This prevents scratches and maintains the appearance of your floors.
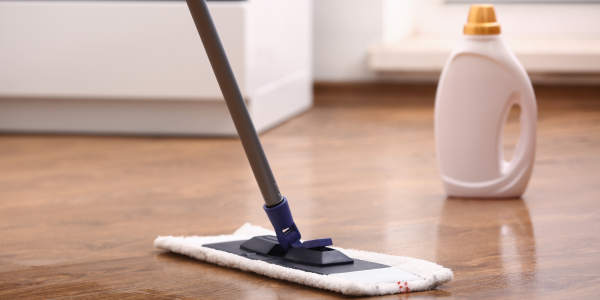
- Gentle Mopping: Use a damp mop with a mild cleaner specifically designed for vinyl floors. Avoid harsh chemicals or abrasive cleaners that can damage the surface of the floor.
- Stain Removal: For tough stains like ink or wine spills, clean them up immediately with a damp cloth. For stubborn stains, use a manufacturer-approved stain remover applied with a soft cloth.
- Protection from Furniture: Place felt pads under furniture legs to prevent scratching when moving furniture around on the floor.
- Avoid Excessive Water: While vinyl flooring is water-resistant, excessive water can seep into seams and edges causing damage over time. Wipe up spills promptly and avoid using excess water when mopping.
- Use Area Rugs: Placing area rugs in high-traffic areas can help protect your vinyl flooring from wear and tear while adding style to your space.

Conclusion: Enjoy the Benefits of Beautiful and Durable Vinyl Flooring in Your Home Today!
Vinyl flooring is a versatile and cost-effective option for homeowners looking to enhance the aesthetic appeal and durability of their living spaces. With a wide range of colours and styles available, including white, black, wood effect, and patterned designs, vinyl flooring offers endless possibilities for transforming any room in your home. One of the key benefits of vinyl flooring is its resilience in high-moisture areas such as bathrooms and kitchens. Its water-resistant properties make it an ideal choice for these spaces where spills and splashes are common occurrences. Additionally, vinyl flooring is easy to clean and maintain, making it a practical solution for busy households. Whether you prefer the classic look of wood effect vinyl or the bold statement of patterned designs, there is a vinyl flooring option to suit every taste and budget. Its affordability compared to other flooring materials like real wood or LVT makes it an attractive choice for homeowners looking to refresh their interiors without breaking the bank. In conclusion, investing in beautiful and durable vinyl flooring can significantly enhance the overall look and feel of your home. With its versatility, easy maintenance, and cost-effectiveness, vinyl flooring is a practical choice that offers both style and functionality. Upgrade your living space with vinyl flooring today and enjoy the benefits for years to come!


